- Power Tools
-
Saws
Chain Saw Concrete Chain Saw Band Saw Reciprocating Saw ...
-
Cutters
Pneumatic Cutter Pipe Cutting Machine Nut Cutter
-
Drills
Hammer Drill Pistol Hammer Drill Two Hand Operation Drill Column Drill ...
-
Impact Wrenches
Pneumatic Impact Wrench (Ex-proof Series) Pneumatic Impact Wrench (Ultra light Series) Emulsion Impact Wrench Nut Runner ...
-

Torque Wrenches
Pneumatic Torque Wrench Electric Torque Wrench Hydraulic Torque Wrench Hollow Hydraulic Wrench ...
-
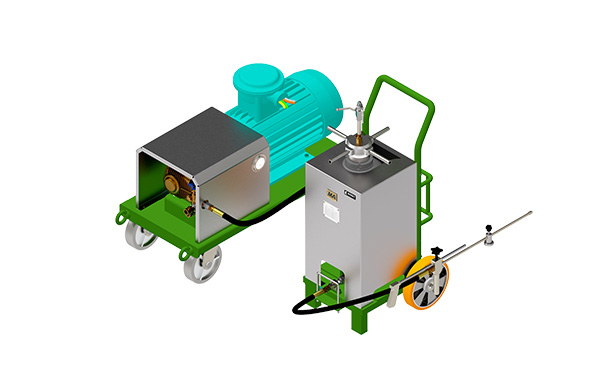
Mining Waterjet Cutting Machine
Electric Mining Waterjet Cutting Machine Pneumatic Mining Waterjet Cutting Machine Emulsion Mining Waterjet Cutting Machine
-
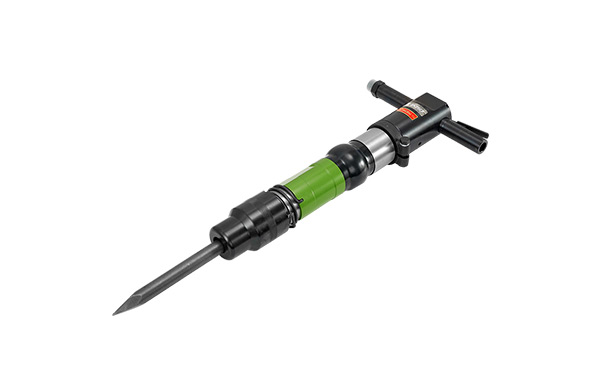
Hammers
Pneumatic Chipping Hammer Hydraulic Chipping Hammer
-

Scaler
Pneumatic Long Reach Scaler
-

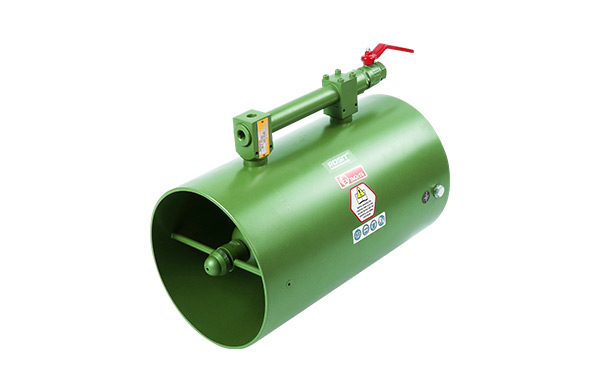
Rammer
Pneumatic Rammer
-
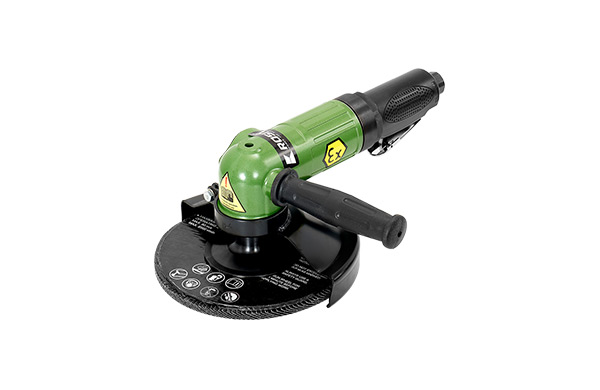
Grinders
Wet Grinder Angel Grinder Electric Grinder
-
Fan
Pneumatic Fan Heavy Fixed Fan
-
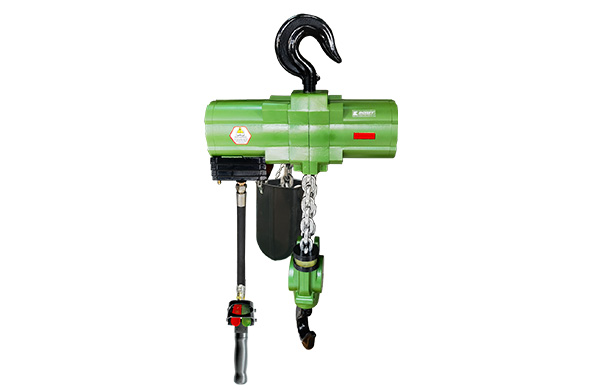
Hoist
Chain Hoist Electric Hoist Pneumatic Hoist Hydraulic Hoist ...
-
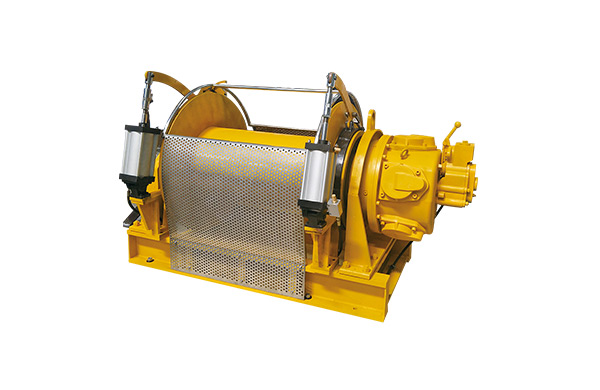
Winch
Pneumatic Winch
-
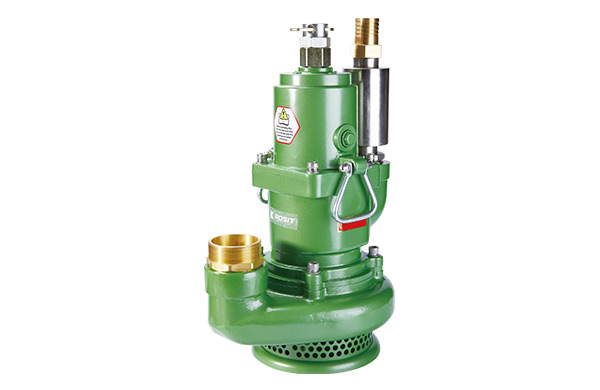
Pump
Pneumatic Submersible Pump Emulsion Submersible Pump
-
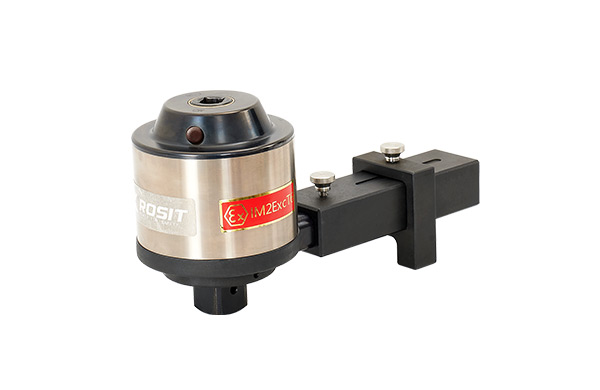
Assembly
Torque Multipler C-Hog Ring Plier
-
- Accessories
-
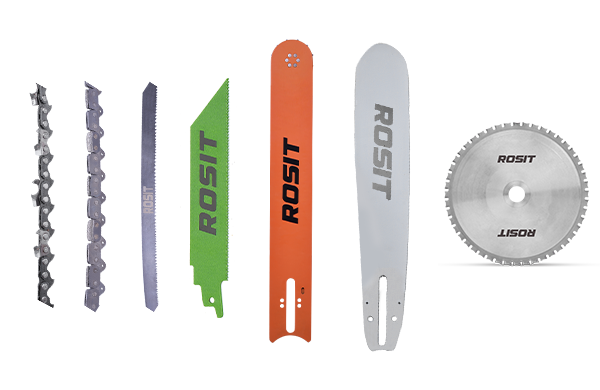
Cutting
Chainsaw Concrete Chainsaw Band Saw Reciprocating Saw ...
-
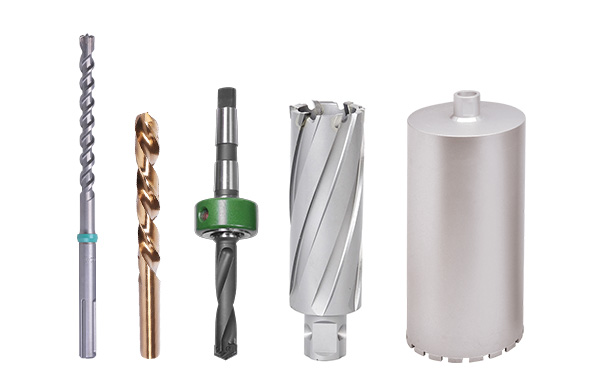
Drilling
Impact Drills Light Drills Magnetic Drills丨Rail Drills Balance Drills丨Angle Drills ...
-
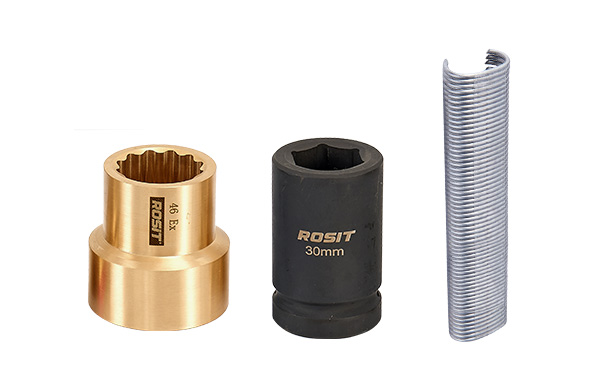
Assembly
Impact Wrenches C-Hog Ring Plier
-
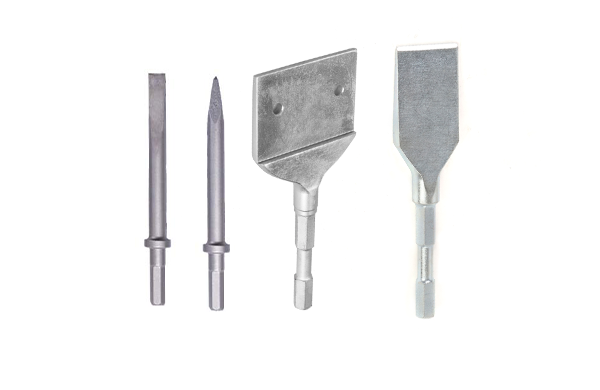
Hammer & Shovel
Chipping Hammer Derusting Shovel
-
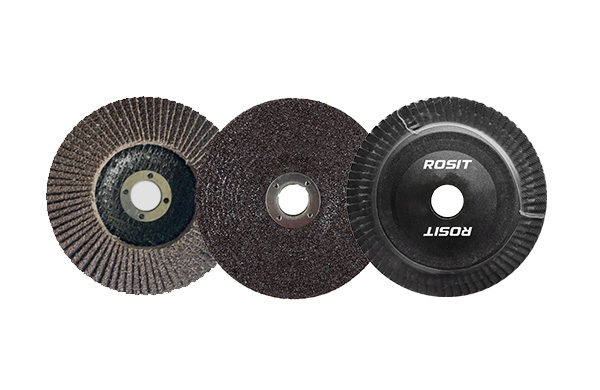
Grinding
Grinders
-
Hydraulic Accessories
Nut Runner Cutter
-
General Accessories
Waterjet Cutting Machine Filter assy. Filter assy. Water Pump ...
-
- Company Profile
- Service
- News
-

Events
The 21st 2023 Taiyuan Coal (En The 17th Yulin International C The 20th TaiYuan (2021) Coal ( The 16th Ordors International Have a machine repaired or hav ...
-

Case Study
Specifications of adjustable w Have a machine repaired or hav
-
Industry News
Using Chainsaws to Cut Snow? What to do if the pneumatic wr Hydraulic chain saw Operation of the wrench Introduction to the principle ...
-
- Download
- Contact


 You are here: >
High-speed saw operation and maintenance procedures
source:Industry News release time:2021-05-07 Article author:Rosit Popular:Air band saw
High-speed saw operation and maintenance procedures
1. Before homework.
1.1 Confirm whether the power supply used matches the specifications indicated on the tool nameplate.
1.2 Confirm whether the power switch is turned off. If the power switch is turned on, the power tool will turn unexpectedly when the plug is inserted into the power socket, causing serious accidents. 1.3 If the work site is moved to a place away from the power source, use the extension cable with sufficient capacity, install the appropriate extension cable, and keep it as short as possible
")
2, pay attention when using.
2.1. Safety glasses should be worn to protect the eyes.
2.2. Wear a protective mask when working with your face up.
2.3. Earplugs should be worn during work to reduce the impact of mocking.
2.4. The drill holder should be properly installed.
2.5. The drill bit should be hot during operation, so pay attention to it.
2.6. Side handles should be used when working.
2.7. Only with good working posture can safe operation be implemented.
2.8. When starting the operation, first confirm whether the grease is supplied normally and whether the screws are properly tightened.
2.9. When working above the ground, pay attention to the safety of the contents and pedestrians.
2.10 When drilling the ceiling or floor, first confirm whether there are buried cables or pipes. .
3, operation
3.1. Drilling method
A. Put the drill bit to the drilling position, and then pull the switch trigger.
B. The hammer drill only needs to be pressed slightly, so that the chips can be discharged freely, and there is no need to press hard.
3.2 Flattening and crushing Put the drill bit on the flattening and crushing position, and use the weight of the drill to perform operations. When working, there is no need to push hard at all. Use self-drilling anchor bolts for drilling and driving operations When using self-drilling anchor bolts, the anchor bolts can be driven in.
High-speed saw operation and maintenance procedures
At this time, various optional accessories for self-drilling anchor bolts, such as anchor bolt adapters, must be used.
3.2.1 Use impact anchor attachment
A. Set the rotating wooden handle on the anchor bolt attachment, and then perform the impact to open a base hole at the drilling site, and at the same time use the operation to rotate the handle, the plug is not yet installed in the anchor bolt
B. After reaching the predetermined depth, temporarily pull out the anchor bolt.
C. Use an ejector to blow off the chips.
D. Install the plug on the anchor bolt, and continue to drive in the anchor bolt with a hammer drill.
E. After driving in the anchor bolt, use the trigger key (DRIFTKEY) to separate the anchor bolt
F. Use a hammer or pliers to release the tapered part of the anchor bolt.
3.2.3 Use rotary drill and impact anchor bolt attachment
A. Assemble the self-drilling anchor to the anchor attachment.
B. Turn on the switch and drill the foundation hole with self-drilling anchor bolts. When starting to drill, the drill should be tilted slightly to determine the hole position.
C. After removing the chips with an ejector, fit the plug to the tip of the anchor, and then hammer into the plug.
D. The operation of cutting items is carried out. At this time, the anchor bolt attachment must be used.
3.2.4 Use taper shank attachment
A. Install the drill bit together with the taper shank on the taper shank adapter.
B. Connect the shape and drill until it reaches the depth of the marked groove.
C. After removing the tip of the chip with an ejector, fit the plug to the tip of the anchor bolt, and drive the anchor bolt in with a hammer or pliers.
4. Maintenance
4.1. Check the drill bit: The use of a dull drill bit will cause the motor to work abnormally and reduce the work efficiency. Therefore, if the drill bit is found to be significantly worn, it should be replaced with a new one or sharpened immediately.
4.2. Check the installation screws: Always check whether the installation screws are tight and properly. If the screws are found to be loose, they should be re-tightened immediately, otherwise a serious accident may result.
4.3. Motor maintenance: Motor winding is the heart of power tools. Check carefully for damage and whether it is wetted by oil or water.
4.4. Check the carbon brushes: The carbon brushes on the motor are consumables. Once the wear degree exceeds the "wear limit", the motor will malfunction. Therefore, the worn out carbon brushes should be replaced with new ones immediately. In addition, the carbon brush must always be kept clean so that it can slide freely in the brush holder.
Replacement steps: Remove the tail cover and brush cover, the carbon brush can be removed individually. 4.5. Check the dust cover: The dust cover is designed to prevent dust from entering the internal mechanism. If the inside of the dust cover is worn out, it should be replaced immediately. The dust cover can be removed by pulling it.
Read recommendations:
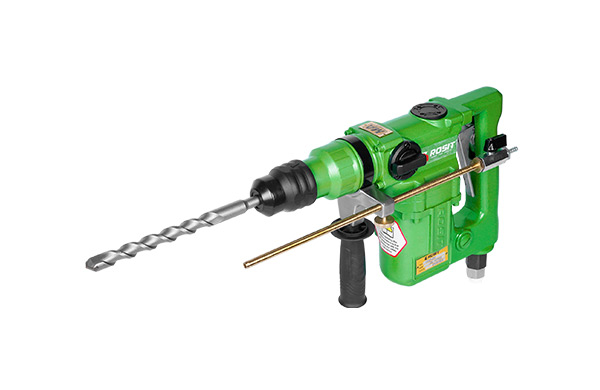
DL21-005 Pneumatic Pistol Hammer Drill
related articles
Using Chainsaws to Cut Snow?
2024-05-21What to do if the pneumatic wrench is weak
2022-12-19Hydraulic chain saw
2022-12-13Operation of the wrench
2022-12-06Introduction to the principle of pneumatic wrench
2022-11-28How to use the pneumatic wrench
2022-11-21Brief introduction to the principle of pneumatic wrench
2022-11-14Impact pneumatic wrench
2022-11-07Correct hydraulic wrench operation procedure
2022-11-01Hydraulic wrench torque pressure conversion
2022-11-01Field operation procedure of hydraulic wrench
2022-10-24Hydraulic radial plunger motor
2022-10-17The history of hydraulic motors
2022-10-17Principle of balance hydraulic wrench
2022-10-10The Price Factor of Smart Electric Torque Wrench
2022-10-10Introduction to the advantages of using intelligent electric torque wrench
2022-10-10The Price Factor of Smart Electric Torque Wrench
2022-10-10Classification and use of wrenches
2022-10-10hydraulic wrench pressure conversion
2022-10-10Introduction to the advantages of the use of intelligent electric torque wrench
2022-10-10Smart Electric Torque Wrench Selection Guide
2022-10-10Intelligent electric torque wrench for wind power generation
2022-10-09Uses of open-end wrenches.Pneumatic chainsaw
2022-10-08What are the driving parts of a hydraulic wrench and what they do
2022-09-30What are the driving parts of a hydraulic wrench and what they do
2022-09-23the commonly used wrenches
2022-09-22Introduction of several common wrenches
2022-09-21Application scope and daily maintenance method of hydraulic bolt tensioner
2022-09-20Characteristics of hollow hydraulic wrench and precautions for use
2022-09-19Characteristics and precautions of driving hydraulic wrench
2022-09-17Power Tools
AW41-2500 Emulsion Impact Wrench
2021-06-15LW21-025 Pneumatic Winch
2023-06-29OF23-520 Pneumatic Fan (light/medium)
2022-12-29AK51-030 Pneumatic C-Hog Ring Plier (Charging/Manual 1.5 coil)
2022-12-12DP61-140 Emulsion Two Hand Operation Drill
2023-06-19AN32-17000 Hollow Hydraulic Wrench
2023-06-27DB21-028 Pneumatic Rotary Drill Heavy Duty
2023-06-19DH21-040 Pneumatic Hammer Drill
2022-12-13AN32-2500 Hollow Hydraulic Wrench
2022-12-27DM11-023 Electric Magnetic Drill
2023-06-19CN22-110130 Nut Cutter丨Split-type Nut Cutter
2023-06-17AN23-6000 Pneumatic Torque Wrench (Angle Shaft)
2024-03-12LW21-015 Pneumatic Winch
2023-06-29CN22-3241 Nut Cutter丨Split-type Nut Cutter
2023-06-17CN22-2434 Nut Cutter丨Split-type Nut Cutter
2023-06-17AK51-065 Pneumatic C-Hog Ring Plier (Charging/Manual 1.5 coil)
2023-06-29AW21-3500 Pneumatic Impact Wrench (Ex-proof Series)
2021-06-15DL21-008 Pneumatic Pistol Hammer Drill
2023-06-19CD22-250 Pneumatic Concrete Chainsaw (5.0KW)
2020-06-13LH61-001 Emulsion Hoist
2022-12-29CD22-380 Pneumatic Concrete Chainsaw (5.0KW)
2023-06-16CB11-210 Electric Band Saw
2023-05-18DA21-075 Pneumatic Angle Drill
2023-06-19AN23-750 Pneumatic Torque Wrench (Angle Shank)
2024-03-12OF11-060 Pneumatic Fan (light/medium)
2022-12-29CS21-030 Pneumatic Handheld Circular Saw
2021-06-08LH11-005 Electric Hoist
2023-05-11AN32-23000 Hollow Hydraulic Wrench
2023-06-27CC23-380 Pneumatic Chainsaw Heavy-Duty (3.5KW Series)
2020-06-13LH21 Series Pneumatic Hoist
2023-05-11Accessories
Filter assy.
2023-06-07Guide Bars
2023-06-06Carbide Inserts Twist Bits丨DB82 Series
2023-06-06Alloy Saw Blades丨CR811 Series
2023-06-06Hard Alloy Hollow Drill Bits assy.丨DB84 Series
2023-06-07Drill Bit Extension Rods丨DC88 Series
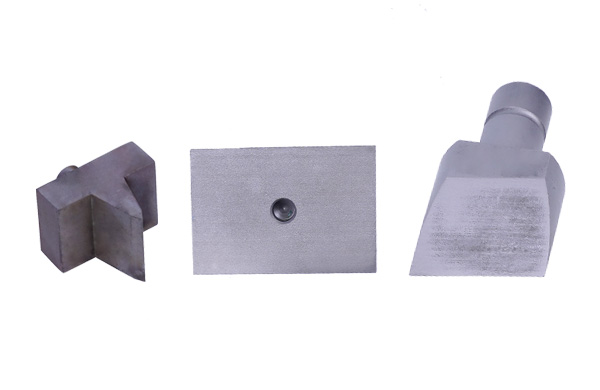
2023-06-07Tool Bits
2023-06-07Ex-proof Sleeves
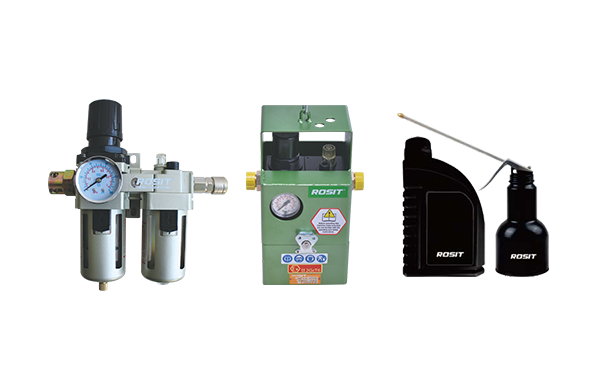
2023-06-07Oiler
2020-06-13Alloy Sleeves
2023-06-07Sleeve KIT
2023-06-07Alloy Saw Chains丨CC812/CC816 Series
2023-06-06Alloy Drill Bits丨811 Series
2023-06-06Alloy Guide Bars丨CC814 Series
2023-06-06Alloy Drill Bits丨813 Series
2023-06-06Pipe Fixed Clamps丨CB861-12
2023-06-06Core Drill Morse Taper Sleeves
2023-06-07Alloy Twist Drill Bits丨DB81 Series
2023-06-06Carbide Inserts Twist Bits assy.丨DB83 Series
2023-06-07Pin
2023-06-07Rail Clamps丨CB864-12
2023-06-06Non-metallic Alloy Saw Blades
2023-06-06Carbide Hollow Bits丨DM818 Series
2023-06-06Carborundum Saw Chains
2023-06-06Split Hollow Drill Bits丨DC82
2023-06-07Diamond Saw Blades
2023-06-06Alloy Saw Blades丨CR812 Series
2023-06-06Filter assy.
2023-06-07Alloy Saw Blades丨CR814 Series
2023-06-06Cross Clamps丨CB862-22
2023-06-06